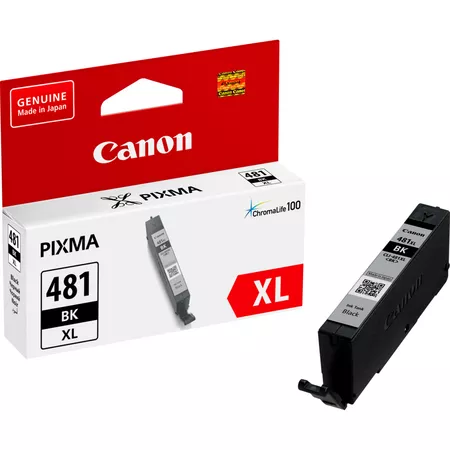
The Canon Ink Cartridge CLI-481XL BK is a high-yield black ink cartridge designed to deliver superior print quality and longevity. It is compatible with a range of Canon printers, offering sharp text and rich image output for both personal and professional use.
Key Features
High-Yield Capacity (XL):
Offers more prints per cartridge compared to standard cartridges, reducing replacement frequency.
Exceptional Print Quality:
Produces crisp, clear black text and vibrant grayscale images.
Compatible with Canon ChromaLife100 Technology:
Ensures prints last longer without fading, providing archival-quality results.
Seamless Compatibility:
Designed to work with a variety of Canon inkjet printers for optimal performance.
Eco-Friendly Design:
Easy to recycle through Canon’s recycling program.
Specifications Canon Ink Cartridge CLI-481XL BK
Cartridge Type: Inkjet
Color: Black (BK)
Ink Type: Dye-based
Yield:
High yield (XL): Approximately up to 400 pages (depending on print settings and paper type).
Compatibility:
Compatible with Canon PIXMA series printers (check your specific model for compatibility).
Weight: Approx. 20 g
Packaging Dimensions:
Compact, lightweight packaging for easy storage.
Benefits Canon Ink Cartridge CLI-481XL BK
Cost-Effective:
High yield minimizes cost per page and reduces the need for frequent replacements.
Reliability:
Ensures consistent output with no smudging or streaking.
Long-Lasting Prints:
Prints are resistant to fading, perfect for documents and photos.
Easy to Replace:
Designed for quick installation to minimize downtime.
How to Install Canon Ink Cartridge CLI-481XL BK
Prepare the Printer:
Turn on the printer and ensure it is in idle mode.
Open the Printer Cover:
Access the cartridge compartment by lifting the printer cover.
Remove the Old Cartridge:
Push down on the existing cartridge and pull it out gently.
Unpack the New Cartridge:
Remove the new CLI-481XL BK cartridge from its packaging and peel off the protective tape.
Insert the New Cartridge:
Align the cartridge with the correct slot and push it in until it clicks into place.
Close the Printer Cover:
Ensure the cover is fully closed and allow the printer to recognize the new cartridge.
Run a Test Print:
Perform a test print to ensure proper installation and optimal print quality.


There are no reviews yet.